Monday, September 29, 2014

Please Join Me for The Scoop #138

It's Monday night so it must be time for another edition of The Scoop! It's been another busy week here at the Plate Addicts! I've finally finished a project that I have postponed for waaay too long plus added a little fall touch to my home!


I always look forward to the monthly posts from our Country French Design group and this time the subject is chairs! That gave me just the motivation I needed to create a flirty frenchy slipcover that I have been wanting to make! I have shared a complete tutorial here.

And...I think I will finally be at home long enough to get a serious start on my fall decorating (I know...I'm behind!) and my latest project, a Pottery Barn inspired Halloween crow pillow, will help to set the mood!

Now I can't wait to see what you have been up to!

Welcome back to The Scoop!
The weekly party featuring the scoop on the best from around the web!
We are

Yvonne from StoneGable
and Suzy from Worthing Court

Our host this week is...
anita cedar hill proflie pic 06 2014 small
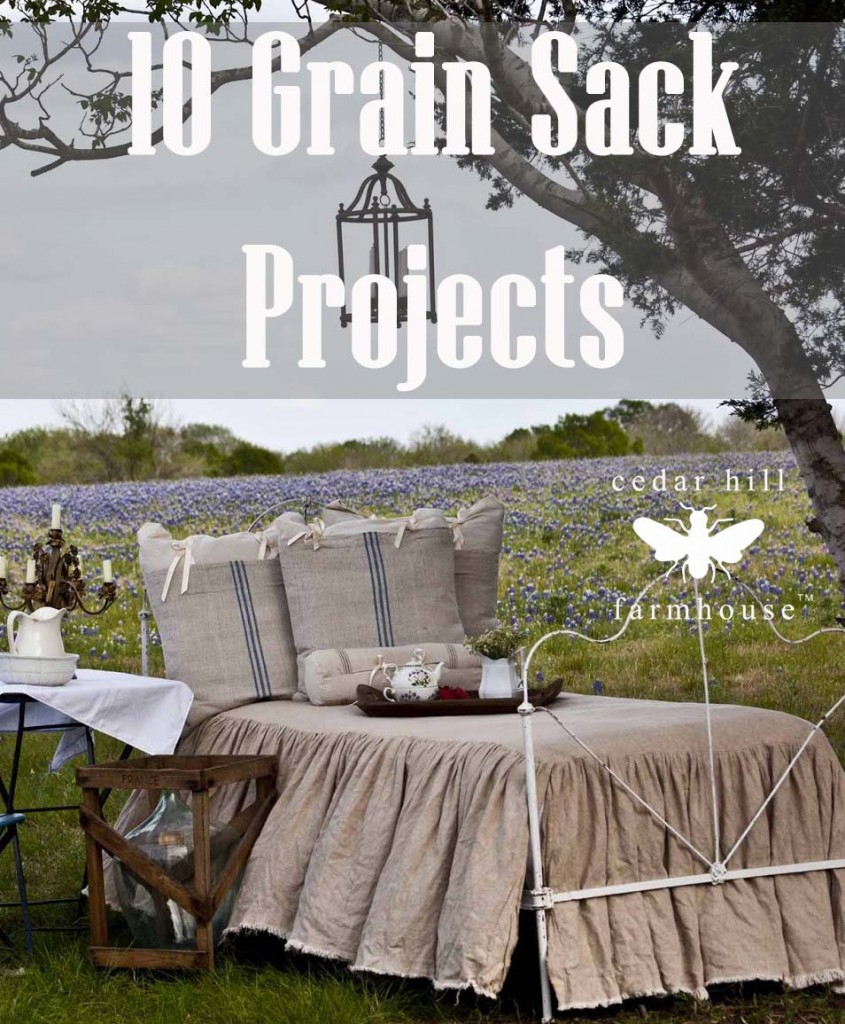
Hello! I'm so excited to be the host this week. It's always fun checking out the projects and getting to select a few to share with everyone. I've been doing a lot of moving things, fluffing pillows, painting chairs, and sewing. I'm revealing 10 projects I completed that used grain-sacks.
 10 Grain Sack Projects
10-projects

In another post, you can discover 12 easy things you can do to decorate your bathroom.
12-bath-decorating-ideas

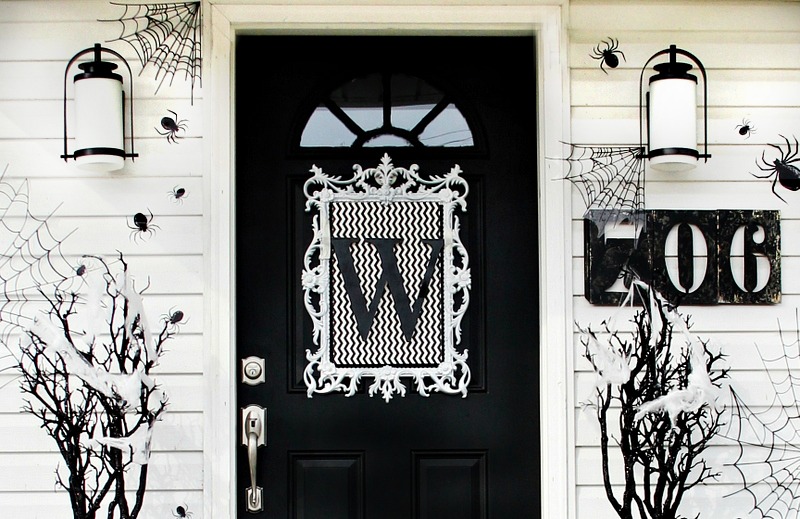
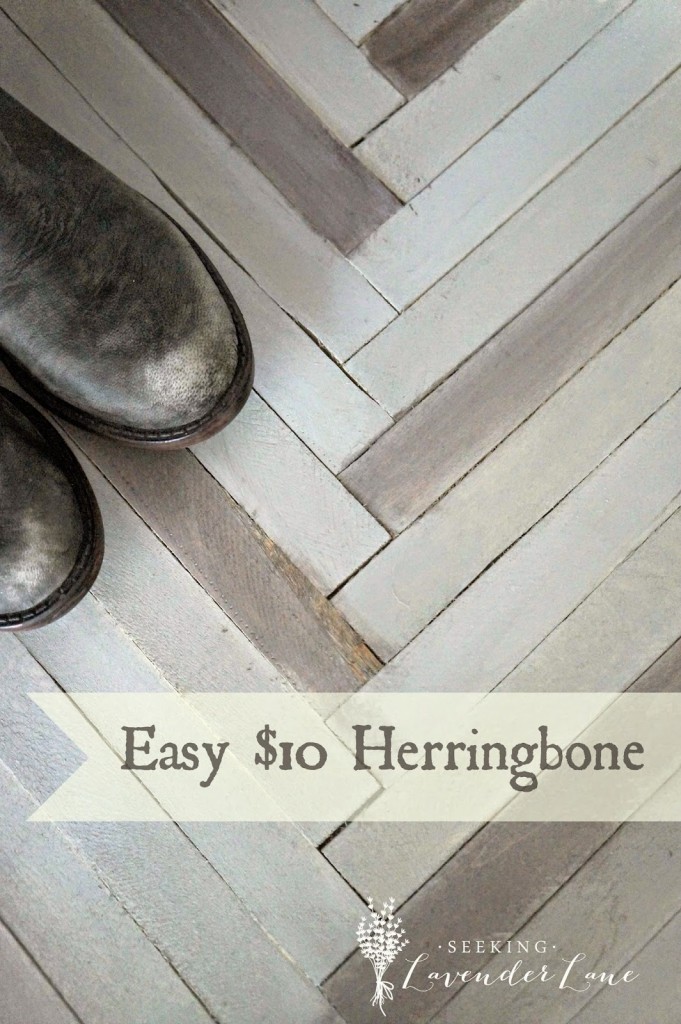
Here's what caught my eye from last week's scoop.
 
image150
halloween-front-door-wreath
Herringbone 6
garage doors
chia-fruit-nut-bars-1024x922

Make sure to do lots of visiting this week and our hosts would love a little love, too!

And now…on to the party! I can’t wait to see what you’ve got to share!

Thank you for linking up, friends!

Please read the guidelines before participating:
  • Follow and/or subscribe to your host blog.
  • Be sure to include THE SCOOP button or text link to in your linked post…mandatory to be featured!
  • By linking up you are agreeing that the photos are yours or that you have permission to use them, that we may use those photos to feature your project on a blog post, Facebook, Pinterest, or Twitter with a link back to your blog, of course.
  • Please go to the source of a photo to pin it to Pinterest so that the originator of the post gets the credit.


Also find me at…
Facebook Pinterest Twitter Hometalk Subscribe Email
Enter your email to have Plate Addict's blog posts delivered Delivered by FeedBurner
Follow on Bloglovin

Sunday, September 28, 2014

How to Give a Chair Country French Style

It’s the last Sunday of the month so it’s time to join our Country French Design group to talk about my favorite subject…and this time the focus is on chairs! First, I have a confession…I don’t have any real antique French chairs. I know (hanging head in shame)…can you believe it? But my house is small and every chair needs to be able to earn its keep, withstanding the attentions of four cats and being used as a launching pad my four-year-old grandson to jump from shouting “Hulk smash!”


Chaises au Musée CarnavaletOwning one has always been a dream and I have to admit that when I took my then ten-year-old grandson to Paris, I demanded equal time at the Musée  Carnavalet and we lingered over the fabulous antique chairs for just as long as we studied the miniature guillotines! ;-)

CONFESSIONS OF A PLATE ADDICT How to Give a Chair Country French Style And, although it’s not French, I think I came pretty close with this one! No Hulk smashing allowed on it, however, since it is an antique Stickley & Brandt. It does earn its keep, however, as my desk chair. You can get all the details on its little transformation here.

CONFESSIONS OF A PLATE ADDICT How to Give a Chair Country French Style But the chair I want to share with you today was a more involved process…an evolution, really…over several years. I first spotted it at an antique mall, painted a sort of mottled grey and not looking very French at all. But I fell in love with that pierced vase shape on the back and knew I had to have it! I never saw its original finish, but our CEO Miss Ozzie suggests that it probably looked something like the photo in the inset (source).

CONFESSIONS OF A PLATE ADDICT How to Give a Chair Country French Style...Before It’s actually a vintage shield-back Hepplewhite style chair, with a set of unusual turned legs…a sort of flirty English gal hiding under all of that original heavy stain. I gave her a drop cloth seat for a country finish and painted her ivory with a grey wash to bring out her pretty features. You can read the story of her transformation here. I always intended to  give her a flippy slip-covered skirt…

 …but then she sat…just like that…in my master bedroom for four years! Yikes! Sooo…it was about time to do something about it!

CONFESSIONS OF A PLATE ADDICT How to Give a Chair Country French Style step 1First, I measured, allowing for the arms. Of course, if yours is not an arm chair, you would have one simple measurement. Mine was 11 inches on each side and 26 inches across the front.

CONFESSIONS OF A PLATE ADDICT How to Give a Chair Country French Style step 2 Then, using more drop cloth (super cheap, durable and no need to iron) I cut the three pieces, doubling the width for extra ruffles, and allowing 9 inches of length. Another great thing about drop cloth is that if you make your cuts wisely, you can take advantage of the fact that it’s already hemmed! So I had two pieces at 22” x 9” and one at 52” x 9’' and only had to hem the sides! Finish them off with a long stitch and gather and adjust to the original measurements.

CONFESSIONS OF A PLATE ADDICT How to Give a Chair Country French Style step 3 Next, I cut a piece from the drop cloth that was roughly the size of the seat, allowing a 2 inch overhang all around and making cuts to allow for all four legs.

CONFESSIONS OF A PLATE ADDICT How to Give a Chair Country French Style step 4 Then pin the ruffles to the seat cover, right sides together, adjusting and spacing the ruffles evenly. Repeat for all three sides. You can then trim off the extra fabric and stitch. Next, trim the seams and press toward the seat, turning under the clipped sections at the legs and trimming off the excess. Then simply topstitch all the way around to hold it all in place.

CONFESSIONS OF A PLATE ADDICT How to Give a Chair Country French Style step 5 Finally, stitch ties at the back corners (I made mine out of drop cloth, but you could use ribbons) to secure the slipcover to the chair and…

CONFESSIONS OF A PLATE ADDICT How to Give a Chair Country French Styletaaa daaa…here she is…looking as I had always intended her to look…a proper English girl at heart with a flirty French exterior! I am so happy that I finally took the time to finish her!

And just in case you missed any of my posts on previous topics in our Country French Design series, here they are…

COUNTRY FRENCH DESIGN BUTTON Please be sure to head over to visit my fellow Francophiles to see their lovely examples of Country French chairs!


Remember to pin it!

Thanks for stopping by! I hope you enjoyed seeing my Country French chair! Please visit these wonderful bloggers and their beautiful blogs to see what they are up to and to find a list of this week’s participants. 
Under the Table and Dreaming for the Sunday Showcase Party , Thrifty Decor Chick for Before and After Monday , Between Naps on the Porch for Metamorphosis Monday , The Stories of A2Z for Tutorials and Tips Tuesday , Coastal Charm for the Show and Share Party , A Stroll thru Life for Inspire Me Tuesday , My Uncommon Slice of Suburbia for Inspire Me Monday, Savvy Southern Style for Wow Us Wednesdays ,   French Country Cottage for Feathered Nest Friday , Common Ground for Be Inspired on Fridays , The Charm of Home for Home Sweet Home Friday , Craftberry Bush for the Inspiration Gallery on Friday
See you next time! À la prochaine!

Also find me at…
Facebook Pinterest Twitter Hometalk Subscribe Email

Enter your email to have Plate Addict's blog posts delivered


Delivered by FeedBurner

Follow on Bloglovin

Wednesday, September 24, 2014

Pottery Barn Inspired Halloween Crow Pillow


I am excited to share my latest fall project with you…my Pottery Barn inspired Halloween crow pillow! I don’t know about you but I love crows! I think it may be left over from my favorite childhood book Johnny Crow’s Garden. However…this crow has a very different look!


Pottery Barn Halloween Crow PillowI knew it would be next on my to-do list when I saw this…Pottery Barn’s Halloween Crow Pillow. This guy is really scary, isn’t he?

CONFESSIONS OF A PLATE ADDICT  Halloween Crow Graphic reversedAnd while mine, a vintage crow from The Graphics Fairy added to a checkerboard and tweaked a bit, is not quite as scary, he certainly helps to usher in the season!
Here’s what you will need:
  • Osnaberg fabric for the backing for the crow graphic
  • Crow graphic printed at 8x10 size on iron-on transfer paper (I use Avery brand iron-on transfers for light fabrics. I have already reversed it for you.)
  • Burlap for the pillow cover
  • Pillow insert (Mine is down and came from Goodwill for $3.00)
And here’s what you will do:
  1. Following package directions, apply the crow graphic transfer to the Osnaberg fabric
  2. Stitch the fabric to the center of the front of your pillow cover
  3. Finish the pillow with an envelope style closure.
  4. Pop in the pillow form and…

CONFESSIONS OF A PLATE ADDICT Pottery Barn Inspired Halloween Crow Pillowtaaaa daaa! Here it is! I left the edges untrimmed to give it more of a vintage look, but you could always trim them if you prefer.

CONFESSIONS OF A PLATE ADDICT Jack-O-Lantern Pillow with Interchangeable FacesAnd just in case you are wondering about the pillow in the background, it’s my Jack-O-lantern pillow with interchangeable faces…a little bit of fun Halloween décor for the grandies! You will find a full tutorial here.

Ozzie And our CEO Ozzie reminds me to tell you that there is even a little pocket in the back to store the unused pieces! Fun!

CONFESSIONS OF A PLATE ADDICT Pottery Barn Inspired No-Sew  Boo PillowAnd here’s another fun Halloween pillow…my Pottery Barn inspired no-sew boo pillow! And you don’t have to be able to sew a stitch to create it!
As you can see, I am all set for Halloween pillows! Now if only I could find some little pumpkins so I could finish my decorating!

Thanks for stopping by! I hope you enjoyed seeing my Halloween crow pillow! Please visit these wonderful bloggers and their beautiful blogs to see what they are up to and to find a list of this week’s participants. 
Under the Table and Dreaming for the Sunday Showcase Party , Thrifty Decor Chick for Before and After Monday , Between Naps on the Porch for Metamorphosis Monday , The Stories of A2Z for Tutorials and Tips Tuesday , Coastal Charm for the Show and Share Party , A Stroll thru Life for Inspire Me Tuesday , My Uncommon Slice of Suburbia for Inspire Me Monday, Savvy Southern Style for Wow Us Wednesdays ,   French Country Cottage for Feathered Nest Friday , Common Ground for Be Inspired on Fridays , The Charm of Home for Home Sweet Home Friday , Craftberry Bush for the Inspiration Gallery on Friday
See you next time! À la prochaine!

Also find me at…
Facebook Pinterest Twitter Hometalk Subscribe Email

Enter your email to have Plate Addict's blog posts delivered


Delivered by FeedBurner

Follow on Bloglovin